Berlin was awesome. I will post some pictures once I have a chance to download them all off our cameras. The kids enjoyed it as well and we found Berlin to be super kid friendly with a zillion options to check out. I think we'll have to return again in the summer.
Shortly before taking our trip, Cooper and I quickly made some handmade clay ornaments to sell at his school's craft fair. I think they are pretty cute and wanted to keep a few they turned out so well! They'd also make cute gift tags, so I think we'll be making some more this week as we prepare to send our packages back home to the states.

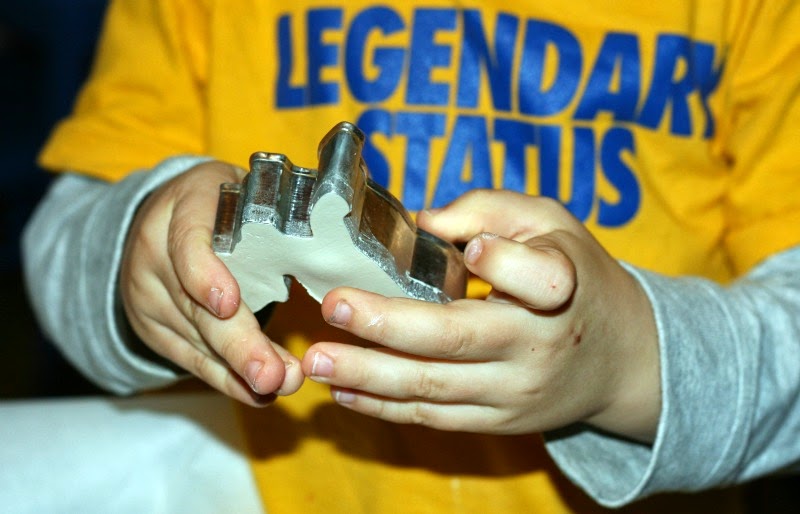
Here's how you make these easy ornaments:
1. First, grab some Crayola Air Dry Clay from the store the next time you are out. It comes in a plastic clear tub in the kids craft aisle (with crayons/markers/etc). For 2.5lbs, it costs $4.50 or so, and you can make a dozen ornaments or more easily.2. Then, grab your Christmas cookie cutters, and get to work! We rolled out the clay on wax paper for easier clean up, and Cooper did the cutting out.


3. Make sure you remember to poke a hole in the top of each ornament to hang your twine through. Let the ornaments air dry 1-2 days, or if you are inpatient like me, put them in the oven for 40 minutes at 200 degrees or less.

5. To seal the paint, once it dried, we painted Mod Podge over the entire ornament. It dries fast and leaves a nice shiny, smooth finish.

6. Pick out some twine, thread it through carefully (I broke a candle and reindeer forcing the twine through too hard), and ta da! Lovely ornaments handmade and finished all in an hour.


No comments:
Post a Comment
We would love to hear from you!